
How to Find Your Balance When First Learning to Handstand
What Exercises Can Help You Feel the Weight Shift in Your Hands?
I have this very distinct memory, of when I was first trying to balance my handstand. It was incredibly confusing, overwhelming trying to remember all the body cues 🙄 and frustrating not being able to “get it”.
I didn’t realise it at the time, but the secret to handstands begins with understanding how the balance works in your hands. Similar to how our feet keep us standing, our hands do the same when we’re upside down. But the key lies in becoming aware and understanding what is happening on our hands! I wasn’t so lucky with the coaches I had learning this, which is why I’m a big advocate for these drills and tips because they help you progress and learn how to balance soo much quicker than I did! Let’s get into it!

Balancing on your hands as a beginner can feel confusing and overwhelming. But understanding how the balance works in your hands is the first step toward mastering the handstand. Think of your hands like your feet: just as you adjust your weight through your heels and toes to stay upright, you’ll do the same with your hands to keep from tipping over. Here are the key points to focus on:
Fingers spread wide: This provides a stable base.
Hand placement: Keep your hands shoulder-width apart.
Full palm contact: Make sure your entire palm is pressing into the floor.
Feel the Weight Shift in Your Hands
Before jumping into a full handstand, it’s important to feel the weight shifting in your hands. One effective exercise for beginners is to start on your hands and knees in a tabletop position, with your palms flat on the ground. From here:
Gently shift your weight forward and backward.
Move your shoulders side-to-side.
Try small circles with your upper body to feel how the weight changes across your palms and fingers.
This helps you build awareness of how small adjustments in your hands can help you balance when you're upside down.
Strengthen Your Wrists for Better Stability
Balancing on your hands takes your entire body weight, which means your wrists are crucial for supporting you. Wrist strength and flexibility make a big difference in your stability. Beginners should start with wrist push-ups, a simple exercise that builds strength and mobility. To perform wrist push-ups:
Start on your knees with your hands flat on the ground.
Slowly lift the base of your palms while keeping your fingers and knuckles on the floor.
Lower back down in a controlled manner.
You can make this more challenging by moving into a full push-up position as you progress.
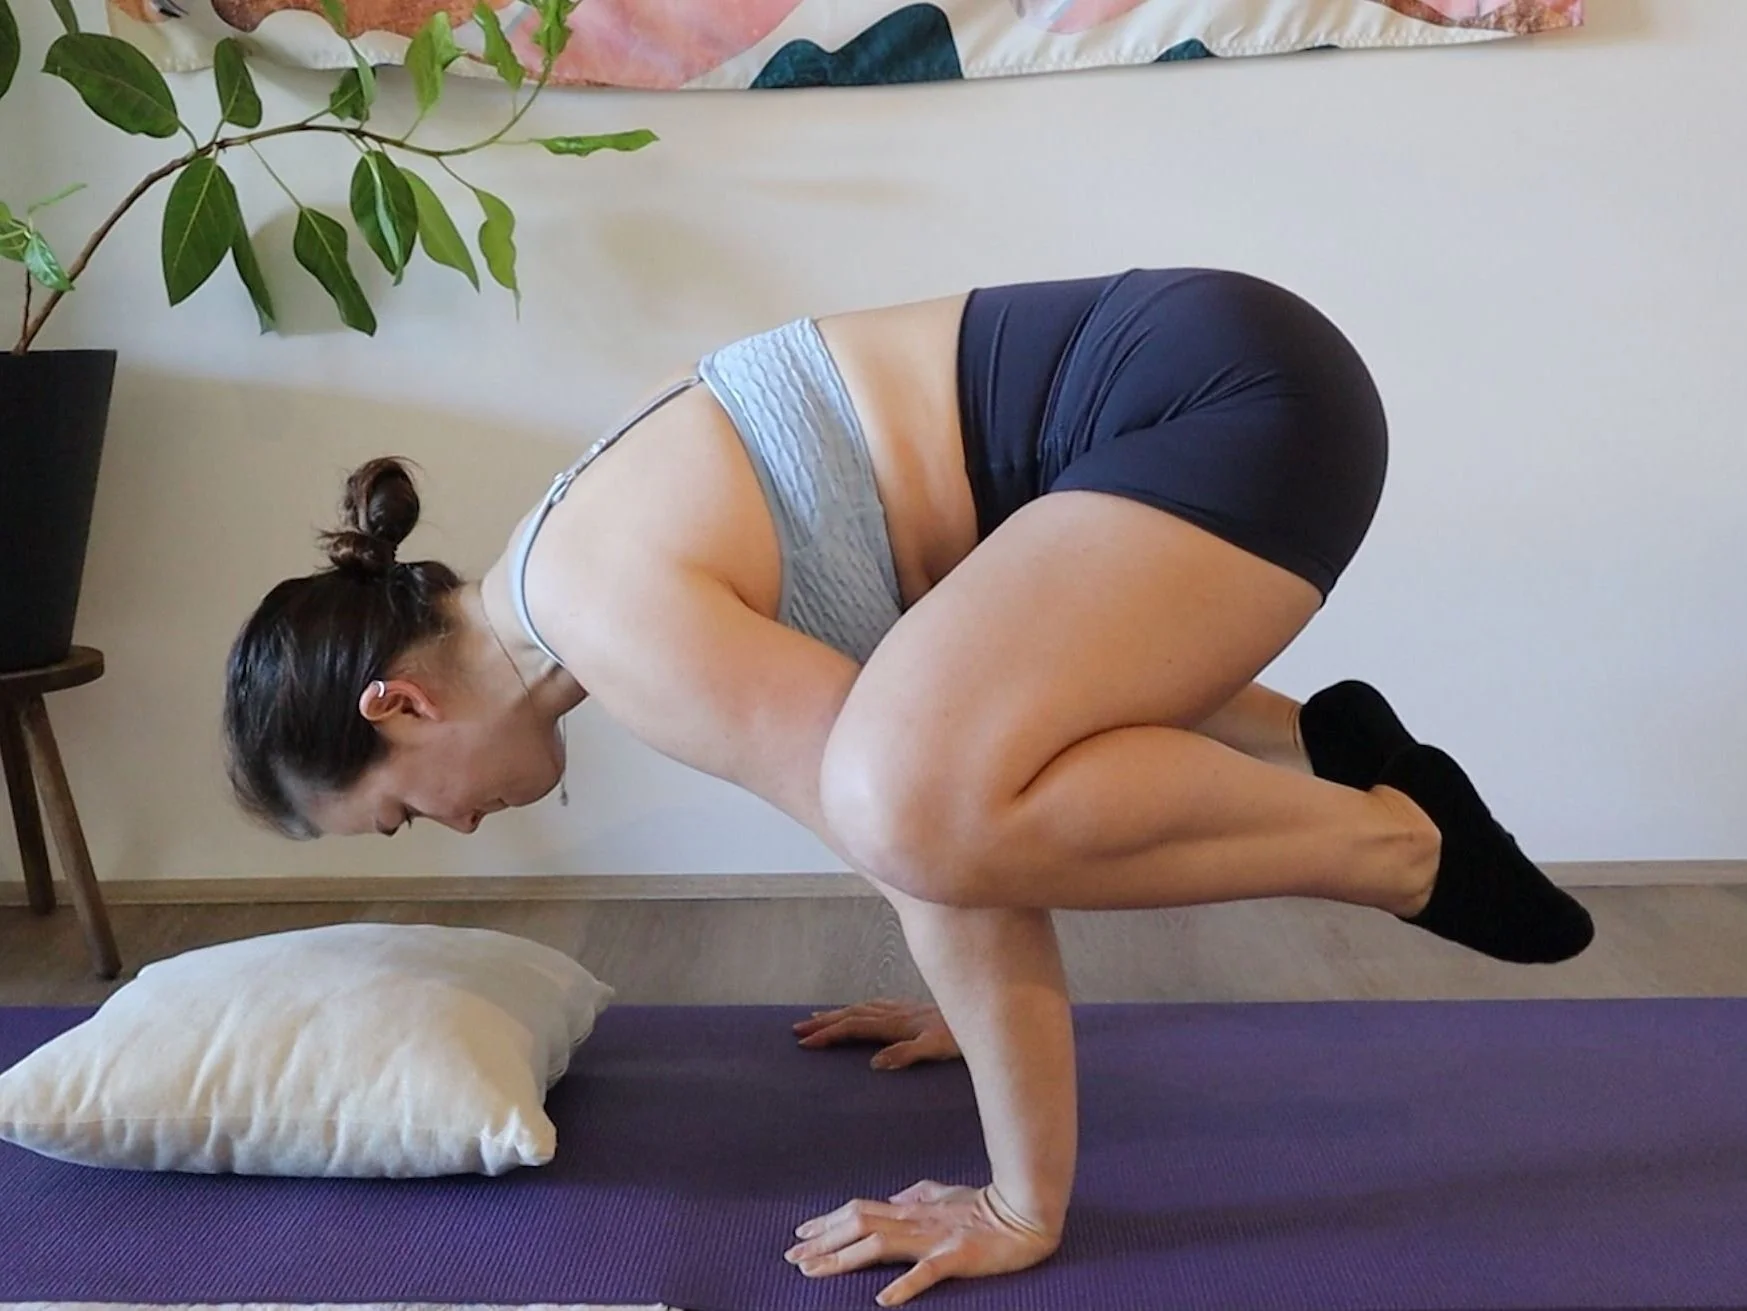
Practice with the Froggy Position
A great beginner drill for handstand balance is the Froggy Position. It helps you understand how to press into the ground with your hands and control your weight. To get into the Froggy:
Place your hands shoulder-width apart on the floor.
Rest your knees on your elbows and lean forward until your toes lift off the ground.
Practice rocking forward and backward, using your palms and fingers to control the movement.
The Froggy not only builds strength but also gives you a safe way to practice balancing your body weight on your hands before committing to a full handstand.
Learning to balance on your hands is a journey, and it’s one that takes patience, persistence, and a bit of play. When I first started, I had no idea how much awareness of my hands would make a difference in holding myself up. But by practicing the basics—like feeling the weight shift in my palms, strengthening my wrists, and playing around with drills like the Froggy Position - I started to see real progress. So, if you’re feeling stuck or frustrated, just remember that every little step counts. Keep experimenting with your balance, build that hand awareness, and most importantly, have fun with it! The handstand isn’t just about strength, it’s about learning to trust yourself upside down. Keep going—you’ve got this!